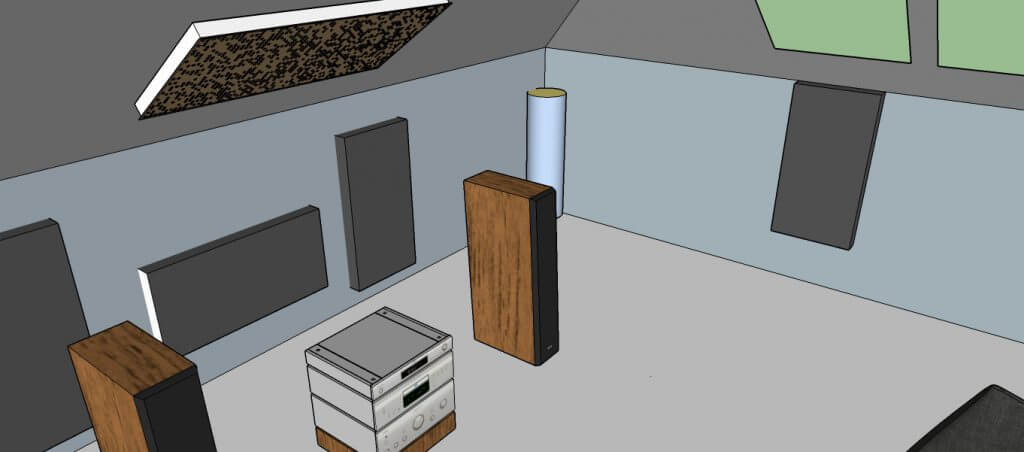





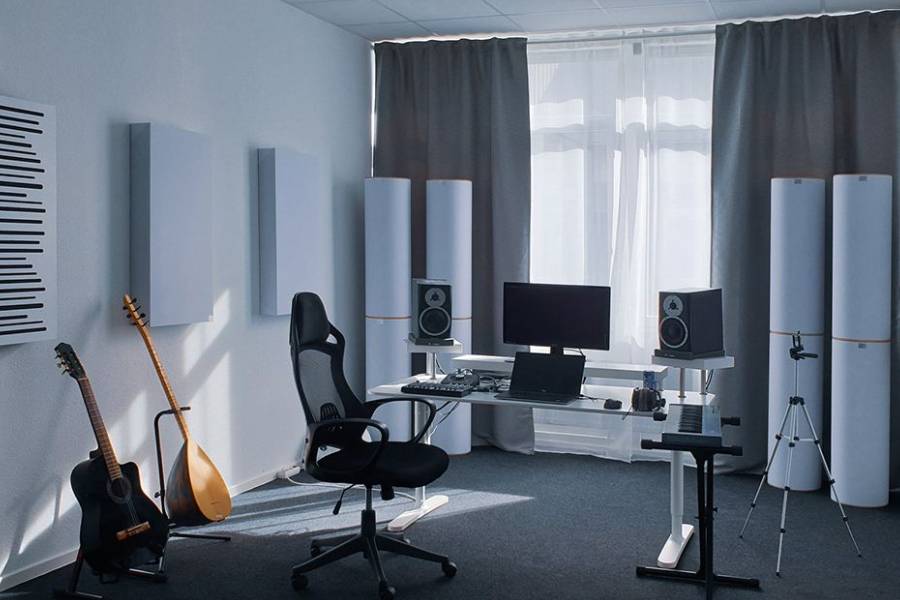
Good equipment is only half the job. The other half is the room it plays in. You can drop a fortune on speakers and an amp and still hear muddy bass, a flat midrange, and a stereo image that falls apart the moment you shift your head. The culprit is almost always the room’s acoustics. What follows are the rules that make a real difference in what comes out of the speakers, without swapping any hardware.
Table of contents
What actually ruins the sound in a room
A sound wave leaves the speaker and reaches the ears by two paths: direct, and via reflections off walls, ceiling, floor and furniture. Each reflection arrives with a different delay and a different tonal color, since materials absorb different bands at different rates. The brain gets mixed signals and loses the ability to pinpoint sources. On top of that come room modes, resonances tied to the room’s dimensions, which show up most strongly below 300 Hz. Those are what make bass boom in one corner and disappear in another.
In most rooms, three things do the most damage: parallel bare walls, a lack of absorbing materials, and speaker placement chosen to fit the furniture rather than the physics.
The equilateral triangle as a starting point
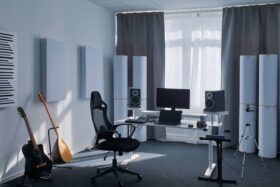
The classic rule of good stereo is simple: left speaker, right speaker and listening position form an equilateral triangle. The distance between speakers equals the distance from each speaker to the listener’s head. For toe-in, start with each speaker aimed straight at the ears, then try easing the angle back a bit, since many designs sound better with less toe-in.
The common mistakes are speakers too close together (no soundstage width) or too far apart (a hole in the middle of the image).
| Room area | Speaker spacing | Distance to listener |
| 12-15 m² | 1.8-2.2 m | 1.8-2.2 m |
| 16-20 m² | 2.2-2.6 m | 2.2-2.6 m |
| 21-30 m² | 2.6-3.2 m | 2.6-3.2 m |
| above 30 m² | 3.0-3.8 m | 3.0-3.8 m |
This is a starting point, not gospel. Your ears will fine-tune it.
Wall distances and symmetry
Speakers placed right against a wall always play with too much bass, because the surface behind reinforces low frequencies (boundary reinforcement). Pull them out too far, though, and the bottom end thins. For most floorstanders the useful range is 40-80 cm from the rear wall and roughly the same from the side walls. Rear-ported designs need at least 50 cm behind them; any closer and the port stops working properly, which shows up as bass pumping.
Lateral symmetry is the second non-negotiable. If the left speaker sits 30 cm from its wall, the right does too. Asymmetry breaks the stereo image and pulls phantom sources toward the closer wall.
| Parameter | Recommended value |
| Distance from rear wall | 40-80 cm (rear bass-reflex min. 50 cm) |
| Distance from side walls | min. 40 cm, ideally 60-100 cm |
| Left/right difference | below 5 cm |
| Tweeter height | at ear level for a seated listener |
| Toe-in | 10-30 degrees toward the listener |
Also worth trying: speakers along the longer wall and along the shorter one. Narrow rooms often sound better with speakers firing across the short axis, even though intuition says otherwise.
Reverberation: not too much, not too little
In an empty room with bare walls, reverb can easily exceed a second. That’s a disaster for music and worse for film, where dialogue turns to mush. On the other end, a room damped like a studio (RT60 under 0.2 s) sounds artificial; the sound collapses on itself and loses life. For a home listening room, aim for reverberation around 0.3-0.5 seconds in the mid and high bands.
| Type of room | Optimal RT60 |
| Recording studio control room | 0.2-0.3 s |
| Hi-fi listening room | 0.3-0.4 s |
| Living room with home cinema | 0.3-0.5 s |
| General-purpose living room | 0.4-0.6 s |
| Untreated room | often 0.8-1.5 s |
Acoustic treatment: what, where, and why
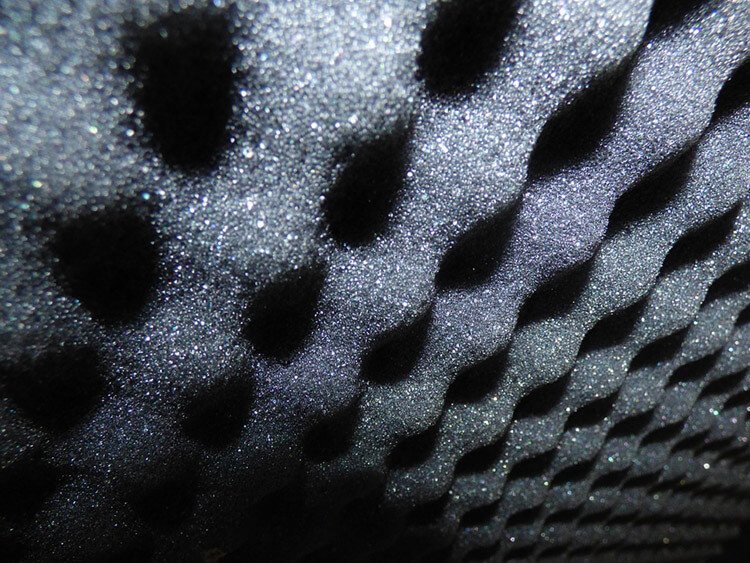
Treating a room isn’t about “damping everything.” Every type of treatment does something different and works in a different band. Thin foam glued to every wall kills the highs and the bass stays untouched, because thin foam simply can’t reach it.
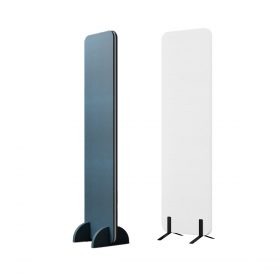
| Treatment | What it handles | Where to mount |
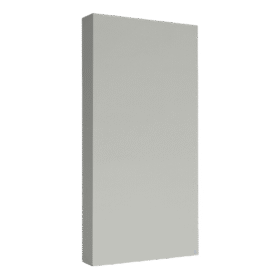
| Broadband absorber | mids and highs (from ~250 Hz up) | first reflection points on sides and ceiling |
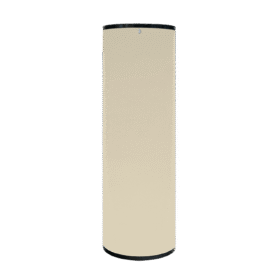
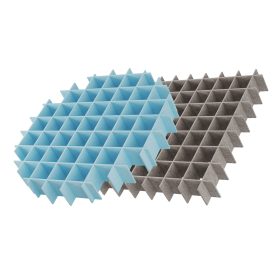
| Bass trap | lows (below 250 Hz) | vertical corners and room edges |
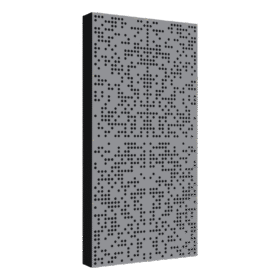
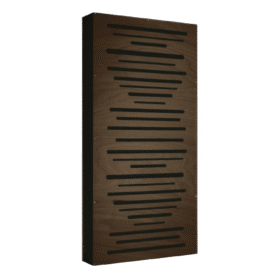
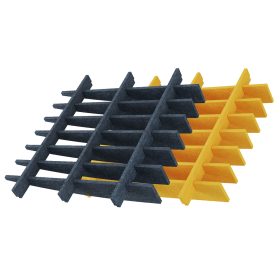
| Diffuser | scatters energy without absorbing | wall behind the listening position |
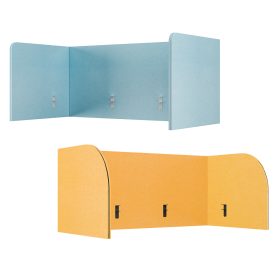
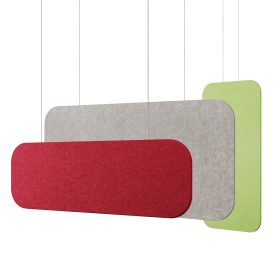
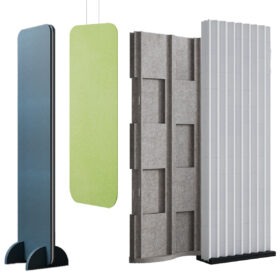
| Felt or decorative panel | high-end correction, reflection control | side walls, sections of ceiling |
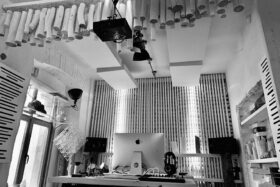
| Suspended ceiling with absorber | overhead reflections, RT60 control | above the listening area |
Find first reflection points with the mirror trick. Someone slides a small mirror along the side wall while you sit in the listening spot. Wherever you can see the speaker cone in the mirror, that’s a spot for an absorber. Do the same on the ceiling.
The classic layout is LEDE (Live End Dead End): an absorbing zone at the front near the speakers, a diffusing zone behind the listener. It gives precise imaging without the sensation of sitting in a shoebox.
Furniture works with the treatment
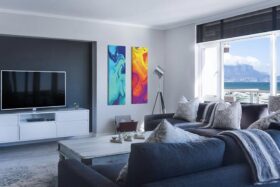
Before buying professional panels, look at what’s already in the room. A fair share of the problem gets solved just by picking and arranging furniture properly.
| Furnishing | Acoustic impact |
| Bookshelf filled with books | natural diffuser, ideal on the wall behind the listener |
| Thick rug with underlay | tames floor reflections, cuts reverb in the highs |
| Heavy curtains in folds | absorb highs and part of the mids |
| Upholstered sofa, armchairs | broadband absorption, comfort included |
| Mirror, glass cabinet doors | sharp narrowband reflections, easy source of flutter echo |
| Large glass window | strong reflections, a thicker curtain or blackout blind helps |
| Empty flat wall | flutter echo source, candidate for absorber or diffuser |
Simple rule: light, porous materials (felt, mineral wool, dense fabric) absorb highs and mids. Low frequencies need mass or dedicated resonators, so upholstery alone won’t fix the bass no matter how much of it you pile on.
Equipment details that are easy to forget
Room acoustics isn’t the whole story. Tweeter height in line with your ears can shift tonal balance audibly with as little as 20 cm of error. Speaker cables should use a sensible gauge, from 2.5 mm² upward for runs over 3 metres. Gold isn’t required, cross-section is. Anti-vibration feet under floorstanders isolate them from the floor, so the bass stops smearing. Amp room correction (Audyssey, Dirac, YPAO) works with the calibration mic exactly where the listener sits, not next to them. If the source is a computer, DSP correction (Equalizer APO, REW, Dirac Live) can outperform a handful of physical treatments, and it costs pennies or nothing.
Where to start on a limited budget
Order the work by cost-to-benefit ratio. Geometry first, materials next, electronics last.
- Speaker and listener placement. Free, big impact.
- Thick rug with underlay and curtains on the windows. You’ll hear it right away.
- First reflection points on side walls and ceiling. Broadband absorbers 60-80 mm.
- Bass traps in the corners. The biggest audible change in bass articulation.
- Diffuser on the wall behind the listener. Imaging clarity without killing the room.
- DSP or amp room correction. Last, once the physics of the room is in order.
Skipping the first two steps and jumping straight to wall panels is a common mistake. Fix the problem first, mask the rest later.
Why any of this matters
Sound quality at home shapes how you experience music, film, games and podcasts, which covers a good chunk of daily life. Better acoustics mean less listening fatigue, clearer dialogue, bass that plays instead of booming, and a stereo image where instruments have their place. A few thoughtful changes can produce an effect comparable to upgrading the amplifier a tier. The rest is a matter of taste and how deep you want to go with measurement and precise treatment selection.