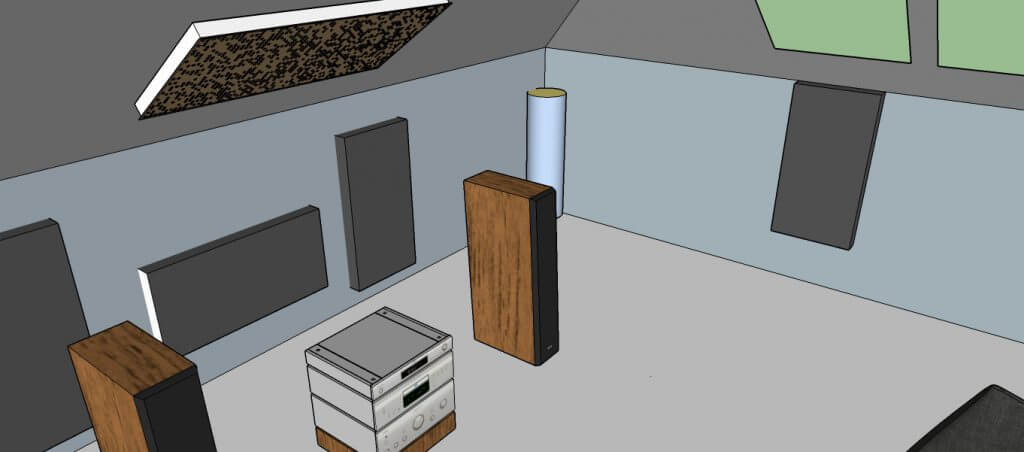



Panel placement has a bigger effect on the outcome than the number of panels. The same two units placed randomly or dropped into a first reflection point produce very different reverb measurements. Below are the rules used when treating a listening room, living room, bedroom, office or home studio, plus what to avoid so the effort doesn’t backfire.
Table of contents
Absorber, diffuser, hybrid: what each one does
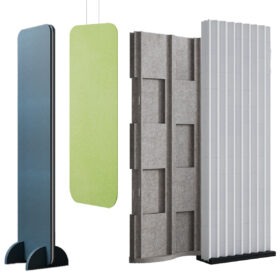
Acoustic panels break into a few basic families. Each works differently and belongs in a different spot in the room.
| Panel type | Mechanism | Band | Typical use |
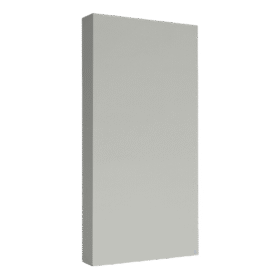
| Broadband absorber | absorption by porous material | from ~250 Hz upward | first reflection points, ceiling |
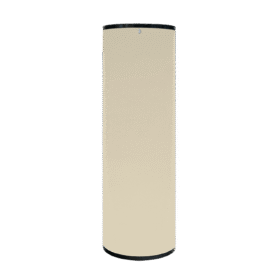
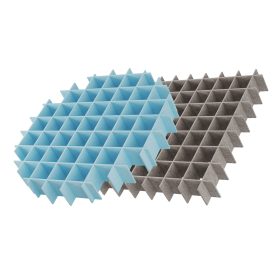
| Bass trap | low-frequency absorption, resonator or thick wool | below 250 Hz | vertical room corners |
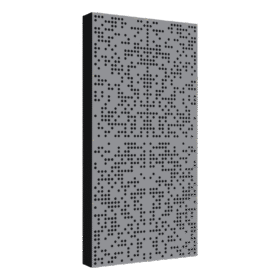
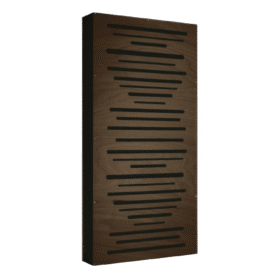
| Diffuser (QRD, Schroeder, 3D) | scattering wave energy in multiple directions | mids and highs | wall behind the listener, side walls |
| Hybrid panel | absorption and diffusion in one build | mids and highs | flexible use in any room |
The typical starter set for a home room is broadband absorbers at first reflections and bass traps in the corners. Diffusers come in when you want to keep the openness of the sound without deadening the whole space.
Symmetry as the first rule
Room acoustics should be symmetric around the listener’s axis. If an absorber hangs on the left wall, something with a similar signature should be on the right. If diffusers sit behind the speakers, the room shouldn’t have a bookshelf on one side and a bare window on the other with nothing compensating. Asymmetry introduces differences in the timing and color of reflections arriving from left and right, and that’s enough to smear the stereo image and drift phantom sources.
Perfect symmetry doesn’t exist in real rooms; there are doors, windows, air vents and furniture. The goal is to keep the differences small and compensate where possible. On the wall with a door, fill the surface with a felt panel or a bookshelf. On the wall with a window, add a folded curtain.
Mounting height
First reflections off the walls reach the ear at roughly the height of a seated listener’s head. That’s where the panels work most efficiently. A practical range on side walls is 100-130 cm from the floor to the center of the panel for a seated listening zone, and 150-170 cm for a standing zone, such as a vocal recording spot.
On the ceiling, panels or acoustic clouds go directly above the listening or conference-table area. It’s often the most neglected surface in the room, though it holds the largest continuous reflecting form.
Gaps between panels and total perimeter
An easy rule to miss, and one that makes a real difference. Panels hung edge to edge behave like one large surface with a fixed perimeter. Leave gaps of 10-30 cm between panels and the total perimeter grows, and with it the diffraction effect at the edges. The same square footage of panels then absorbs a wider frequency range and works more effectively.
| Mounting layout | Total perimeter | Effect |
| Panels edge to edge | minimum | acts like one large surface, narrower effective band |
| Panels with 10-30 cm gaps | larger | broader absorption range, better edge scatter |
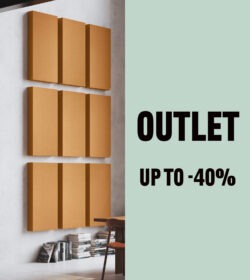
| Panels in an irregular layout | maximum | additional diffusion effect, visually more interesting |
An irregular layout works particularly well where the aesthetic matters, for example on a feature wall in a living room.
What to avoid
A list of the most common DIY mistakes.
| Mistake | Why it’s wrong |
| Panel behind a curtain or furniture | absorber loses effectiveness in mids and highs, diffuser stops working entirely |
| All panels on a single wall | asymmetric reflections, broken stereo image |
| Two parallel walls with no treatment | flutter echo and standing waves, reverb in the mids doesn’t drop |
| Panel too low (below 50 cm from the floor) | exposed to dirt and knocks, out of the reflection path |
| No bass traps despite audible boom | wall absorbers don’t reach the low end |
| Ceiling ignored | the largest continuous reflecting surface stays active |
Bedroom, living room, listening room, office: different strategies
Each space has its own acoustic goals and, therefore, its own panel set.
| Room | Goal | Starter set |
| Bedroom | rest, quiet background | absorbers evenly across 2-3 walls, panel behind the TV speaker |
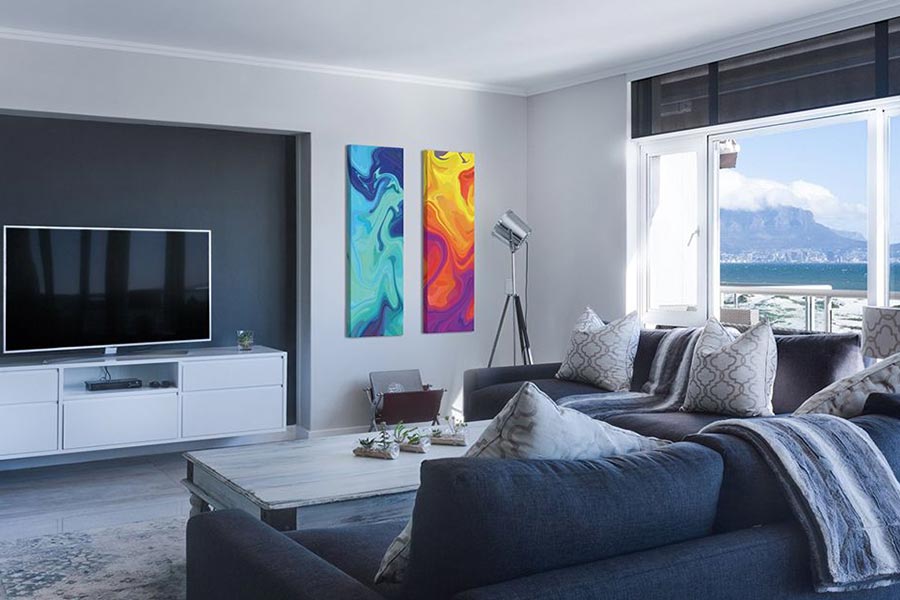
| Living room (relaxation) | clear conversation, shorter reverb | absorbers at first reflections, bookshelf or decor on the opposite wall |
| Living room with audio or cinema | clean stereo image, controlled bass | absorbers at first reflections, corner bass traps, diffuser behind the sofa |
| Listening room, home studio | precise stage, flat response | LEDE: absorbers up front, diffusers at the back, corner bass traps, ceiling panel |
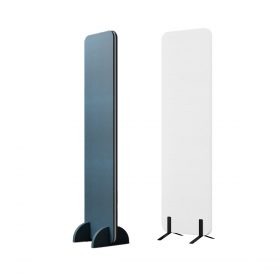
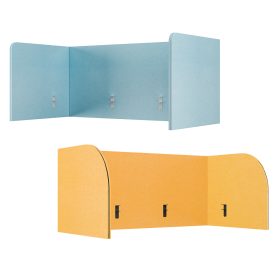
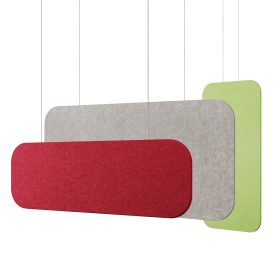
| Office, open plan | speech clarity, lower noise | ceiling clouds, desk partitions, wall panels at first reflections |
In a bedroom absorption is the priority; diffusion doesn’t add much where you sleep. In a home theater setup a diffuser behind the sofa gives a sense of a larger space without deadening the whole room. In studios the Live End Dead End (LEDE) layout has been the standard for years: absorb at the front, scatter at the back, so the engineer hears the monitors rather than the room.
Diffusers: why they need distance
A diffuser doesn’t work well too close to the listener. The construction needs space for the wave to scatter and reach the ear as a diffuse field, not as a single reflection. The practical rule is a minimum of one metre from the listener, and for larger QRD units 2-3 metres. The exact figure follows from the wavelength the diffuser is designed for.
The best spot for a diffuser is the wall behind the listener (in the LEDE layout) or second and third reflection points on the side walls in larger rooms. In smaller rooms a diffuser mounted too close can paradoxically increase the sense of reflection instead of reducing it.
When to commission an acoustic design
A DIY treatment following these rules delivers respectable results in typical home spaces. In more demanding cases (dedicated listening rooms, studios, conference rooms, open-plan offices with a noise target) it pays to start from acoustic measurements and a design based on the actual dimensions of the room. An acoustic simulation and an RT60 measurement before treatment give concrete numbers to size the treatment against. That’s often the difference between “better, but something’s still off” and “exactly what it was meant to be.”